
Database Extension Guide
The KNIME Database Extension provides nodes for connecting to JDBC-compliant databases, manipulating data inside the database, and writing results back — without leaving your workflow. All database nodes are included in every KNIME Analytics Platform installation; no additional extension is required.
Typical use cases include:
- Filtering, aggregating, and joining large tables directly in the database
- Reading query results into KNIME for further analysis
- Writing processed data back to a database table
- Automating database operations as part of a scheduled workflow
Connect to a database
A connector node creates a DB Session and passes it downstream as a DB Connection port. Every database workflow starts here.
- Connect to a database using a dedicated connector node: Use a built-in connector for MySQL, PostgreSQL, Oracle, Snowflake, and more.
- Connect to a file-based database: Connect to SQLite, H2, or Microsoft Access using a local file.
- Connect to a database with the generic DB Connector: Connect to any JDBC-compliant database with a custom driver.
Set up drivers
- Register a JDBC driver: Add a vendor-specific driver to KNIME Analytics Platform.
- Install a third-party driver plug-in: Install the Oracle, SQL Server, or Redshift driver plug-in.
Read and transform data
DB nodes build SQL queries incrementally. The query runs only when a DB Reader node executes it.
- Read data from a database: Select a table and read it into a KNIME data table.
- Transform data visually in a database: Filter rows, aggregate, and join without writing SQL.
- Run a custom SQL query: Use DB Query, DB Query Reader, or DB SQL Executor for custom statements.
- Parameterize a SQL query: Loop over input values with DB Parameterized Query Reader or DB Looper.
Write and modify data
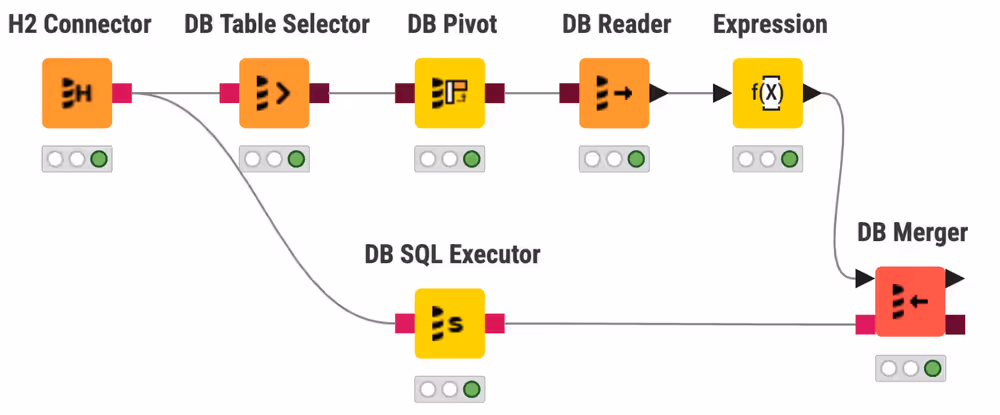
- Insert, update, or merge data: Write KNIME table rows to a database using DB Writer, DB Row Inserter, DB Updater, or DB Merger.
- Delete rows from a database table: Remove rows by value match or filter condition.
- Bulk-load data into a database: Use the DB Loader node for high-throughput writes.
- Create and remove database tables: Use DB Table Creator and DB Table Remover.
- Use database transactions: Group operations into a single commit-or-rollback unit.
Hub and Server setup
- Set up JDBC drivers on KNIME Hub and KNIME Server: Distribute drivers to executors and clients using customization profiles.
- Configure Kerberos constrained delegation: Impersonate workflow users when connecting to Kerberos-secured databases.
Migration
- Migrate deprecated database workflows: Use the Workflow Migration Tool to convert deprecated nodes to their current equivalents.
Reference
- Connector node settings: JDBC Parameters and Additional Settings options.
- JDBC driver reference: Driver registration fields, URL template syntax, and common drivers.
- Deprecated node mapping: Full table of deprecated nodes and their replacements.