
Python Integration
The Python integration lets you execute scripts within KNIME workflows, providing direct access to the Python ecosystem for data manipulation, analysis, and visualization.
Tutorials
These guides provide end-to-end implementations so you can learn by building functional examples.
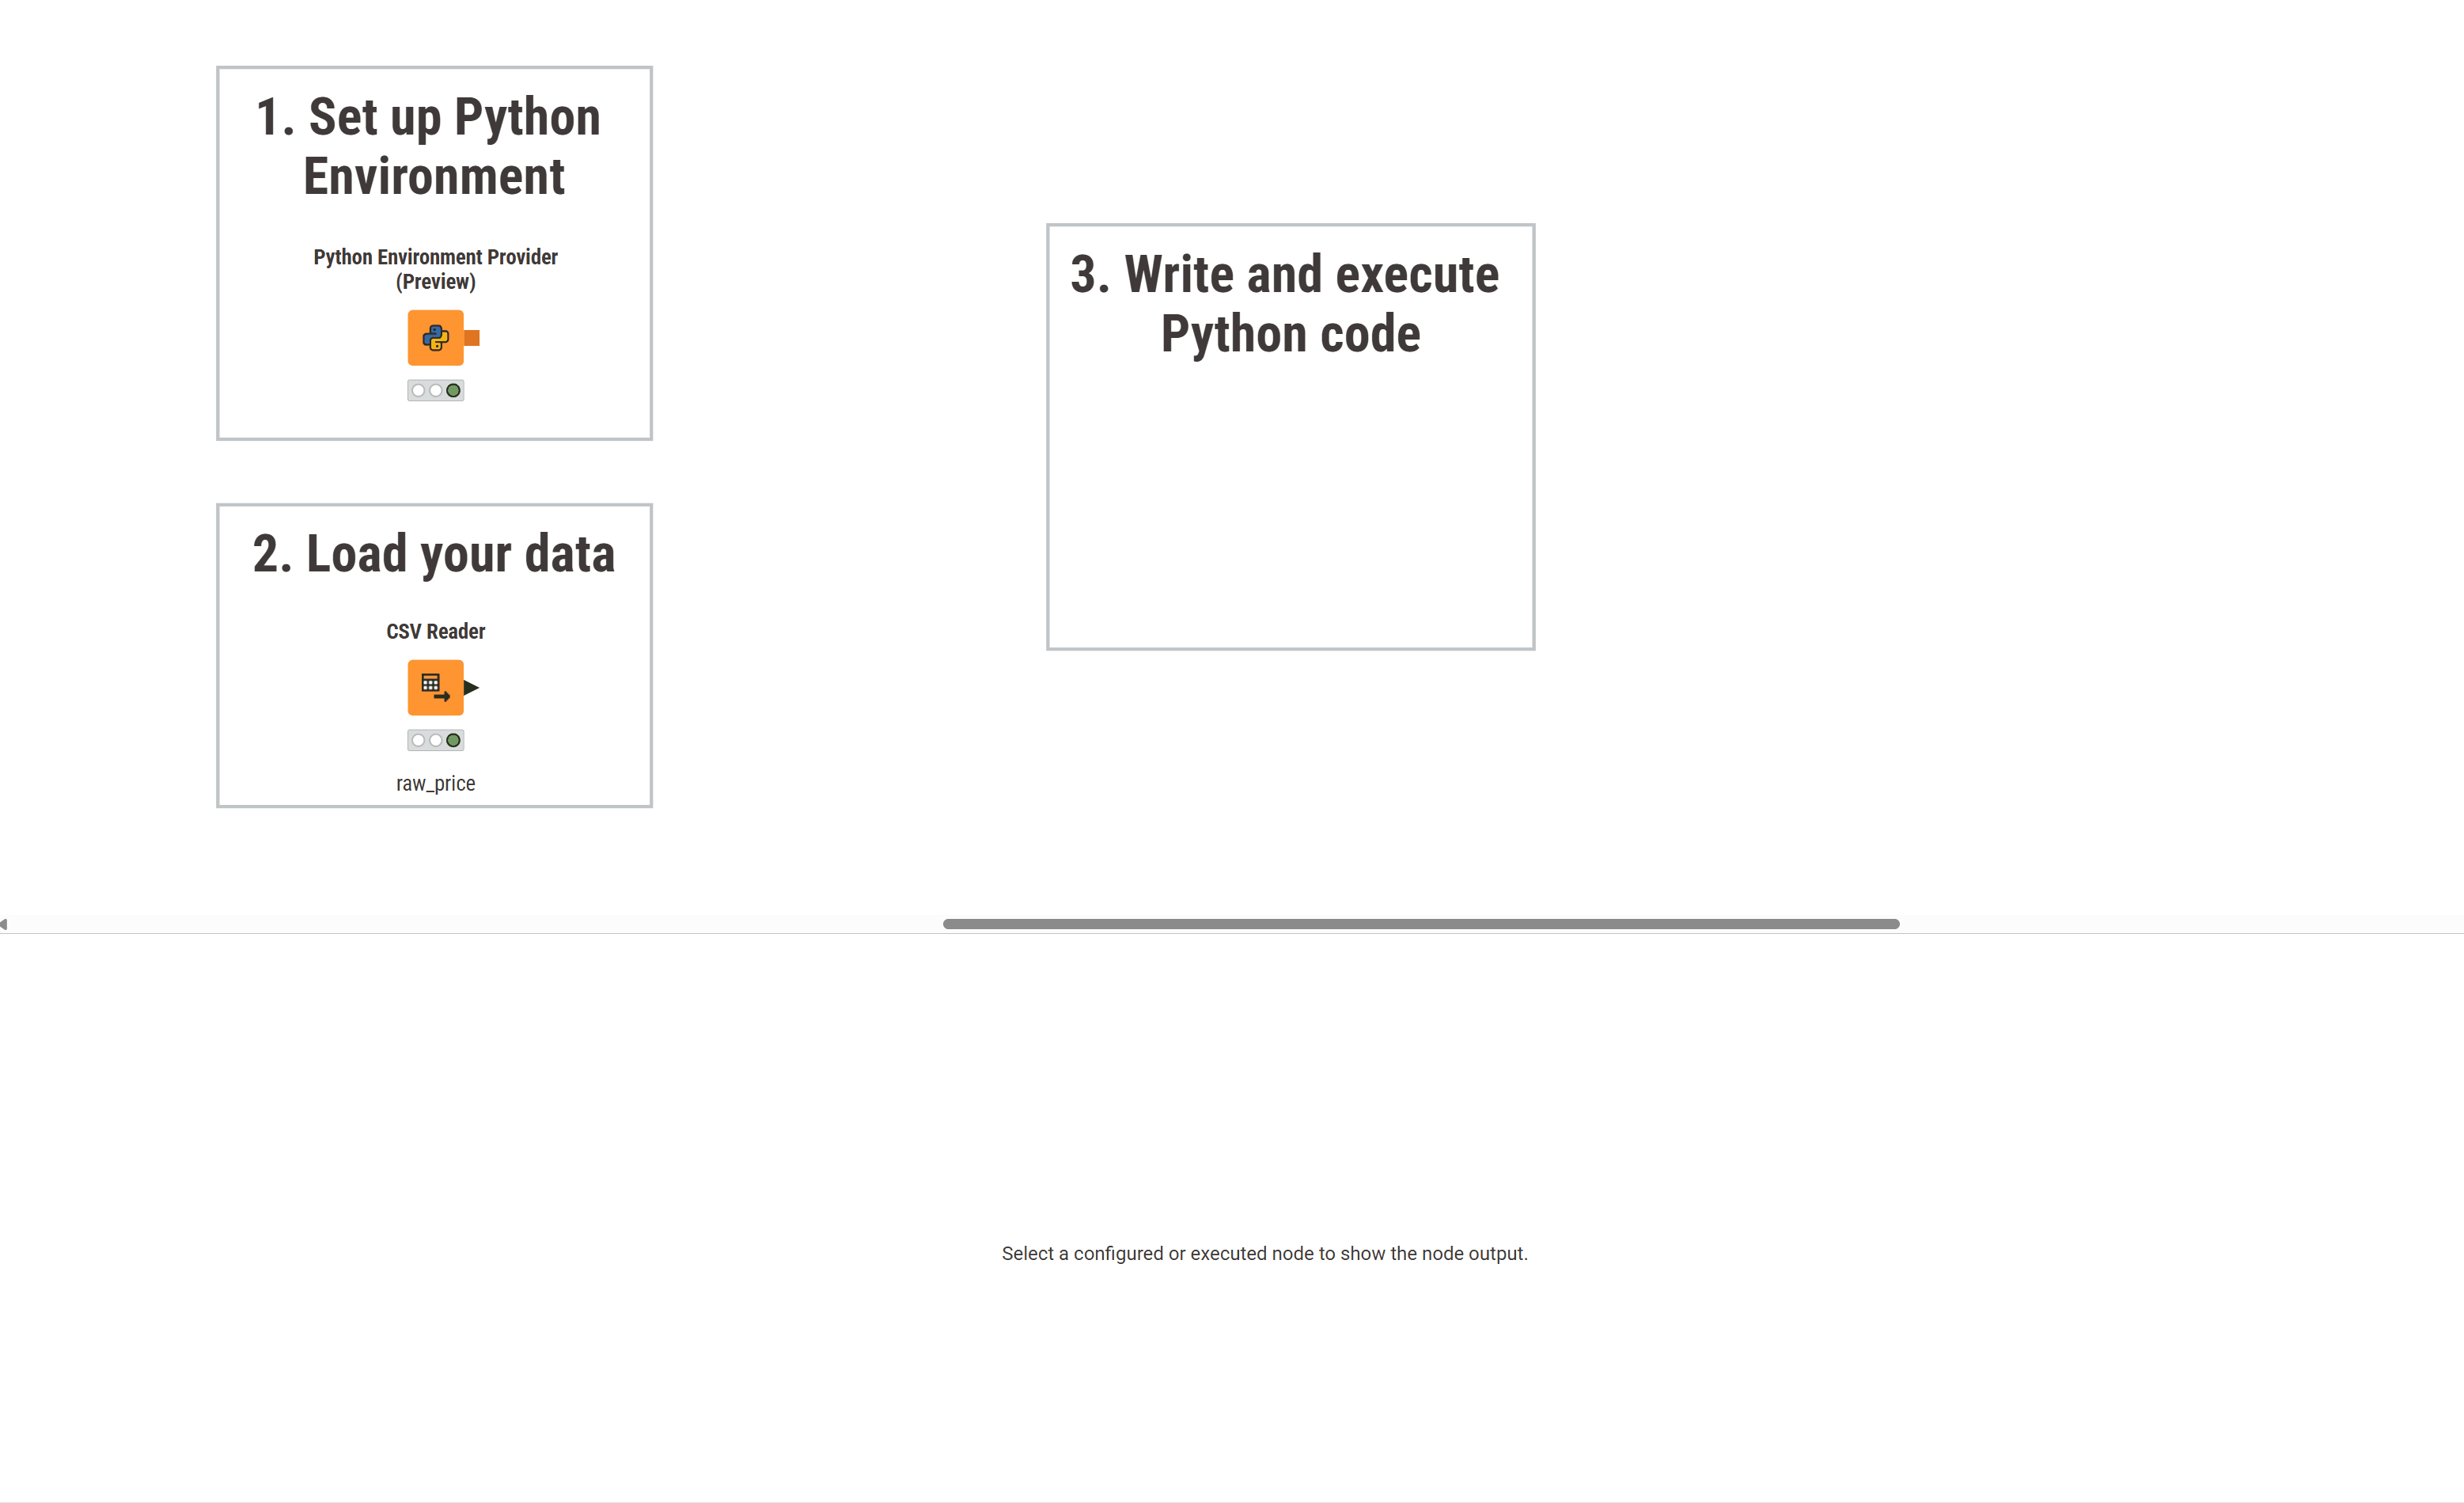
- Python Scripting Quickstart: Install the extension and run your first script using a temporary environment.
- Data App Development Using Plotly: Build interactive Plotly visualizations and deploy them to KNIME Hub.
Data Processing and Scripting
The API of the Python Integration can be found in the Python Script API reference.
- K-AI Scripting Assistant: Generate, explain, and debug code using the integrated AI assistant.
- Data Type Conversion: Map data between KNIME tables and Pandas or PyArrow formats.
- Batch Processing: Process large datasets that exceed your available memory.
- Jupyter Integration: Load and execute functions from your external
.ipynbfiles.
Environment Management
KNIME uses Pixi for environment isolation. Use these resources to configure and manage your local setup.
- Pixi Configuration: Initialize the Python Environment Provider and create portable environments.
- Dependency Management: Install and manage the specific Python libraries your project requires.
- Environment Persistence: Configure permanent storage to avoid re-downloading packages.
- Conda Migration: Move your legacy "Conda Environment Propagation" nodes to the Pixi-based provider.
Architecture and Concepts
Understand the internal logic behind backend execution and filesystem organization.
- Pixi Backend Architecture: Learn how lock-file systems differ from traditional Conda environments.
- Storage Logic: How KNIME manages directory structures and OS-specific paths.
- Python Environments on Executors: Understand the three environment types available when running workflows on KNIME Executors.
Alternative Configurations
Options for legacy environments, manual installations, and third-party managers.
- Conda and Miniforge Setup: Configure workspace-wide environments via Conda.
- Conda Environment Propagation: Bundle Conda environments directly within your workflows.
- Manual Python Configuration: Use local Python binaries or your own custom start scripts.
- Legacy Node Migration: Port workflows from older Python nodes to the current framework.
Reference and Troubleshooting
Technical specifications and fixes for common configuration issues.
- Python Scripting API: Full reference for the
knioandknjupytermodules. - Bundled Packages: Review the libraries included in your default environment.
- Executor and Hub Configuration: Set
knime.iniflags, preferences, and REST API parameters. - Troubleshooting Guide: Find solutions for SSL errors, path limits, and execution failures.